
.jpg) 1 hour ago
2
1 hour ago
2
We’re witnessing a surge in the popularity of astrophotography, with Gen Z and beyond embracing the hobby as never before, but it comes with a steep learning curve. As the sun goes down and the stars come out, the familiar rules of photography radically change. Those comfortable with staying on auto in daylight are suddenly faced with manual settings and long exposures, an obsession with staying in focus and a subject — the night sky — that’s constantly in motion.
Astrophotography is not a single technique but many, ranging from simple tripod-mounted nightscapes — where at least the usual rules of composition apply — to highly technical deep-sky imaging rigs using telescopes. Some approaches to astrophotography emphasize simplicity and portability, while others reward patience and precision. Knowing which approach will suit you best depends on what you want to photograph, how much gear you’re willing to carry and how much time you want to spend learning.
Article continues below
1. Smartphones
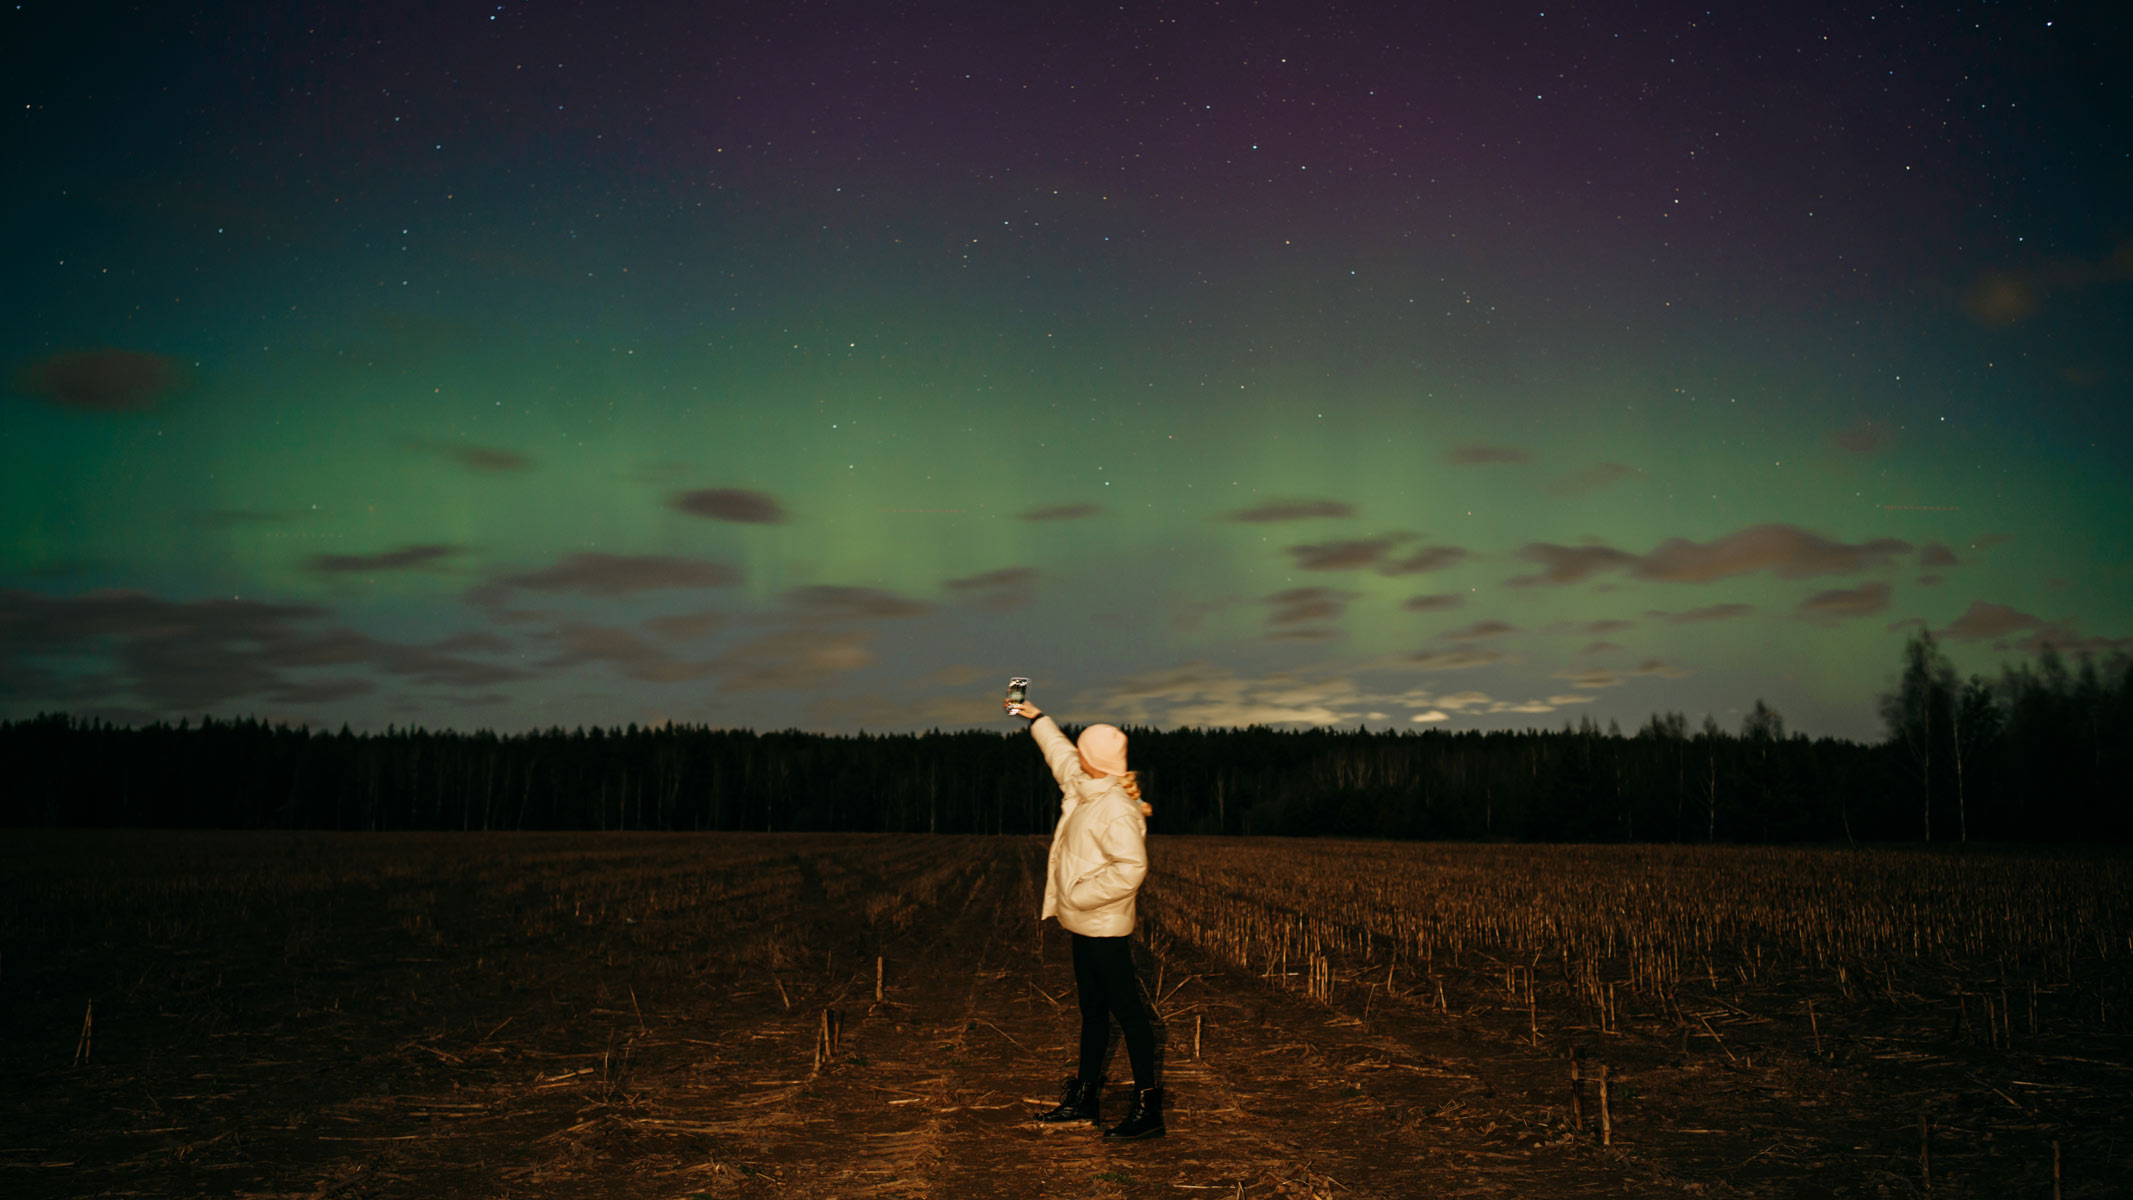
If you want to dip your toe into the world of wide-field astrophotography, begin with the device you already have. Flagship smartphones have quietly become capable of astrophotography, with ‘night modes’ often excelling at revealing stars, the Milky Way and aurora. For the latter, often viewed in icy conditions, a smartphone can produce excellent results without the painful setup of more complex photography equipment.
If you use one of the best camera phones for astrophotography at night, always shoot in RAW if that’s an option, and know that you’ll be limited by a relatively small sensor and a fixed lens. It’s also highly recommended to find a universal smartphone clamp and a tripod, which will massively improve results, though few smartphone users ever do this. Smartphones offer a surprisingly capable starting point for astrophotography, and serve as a reminder that the hobby is at least as much about technique as it is about equipment.
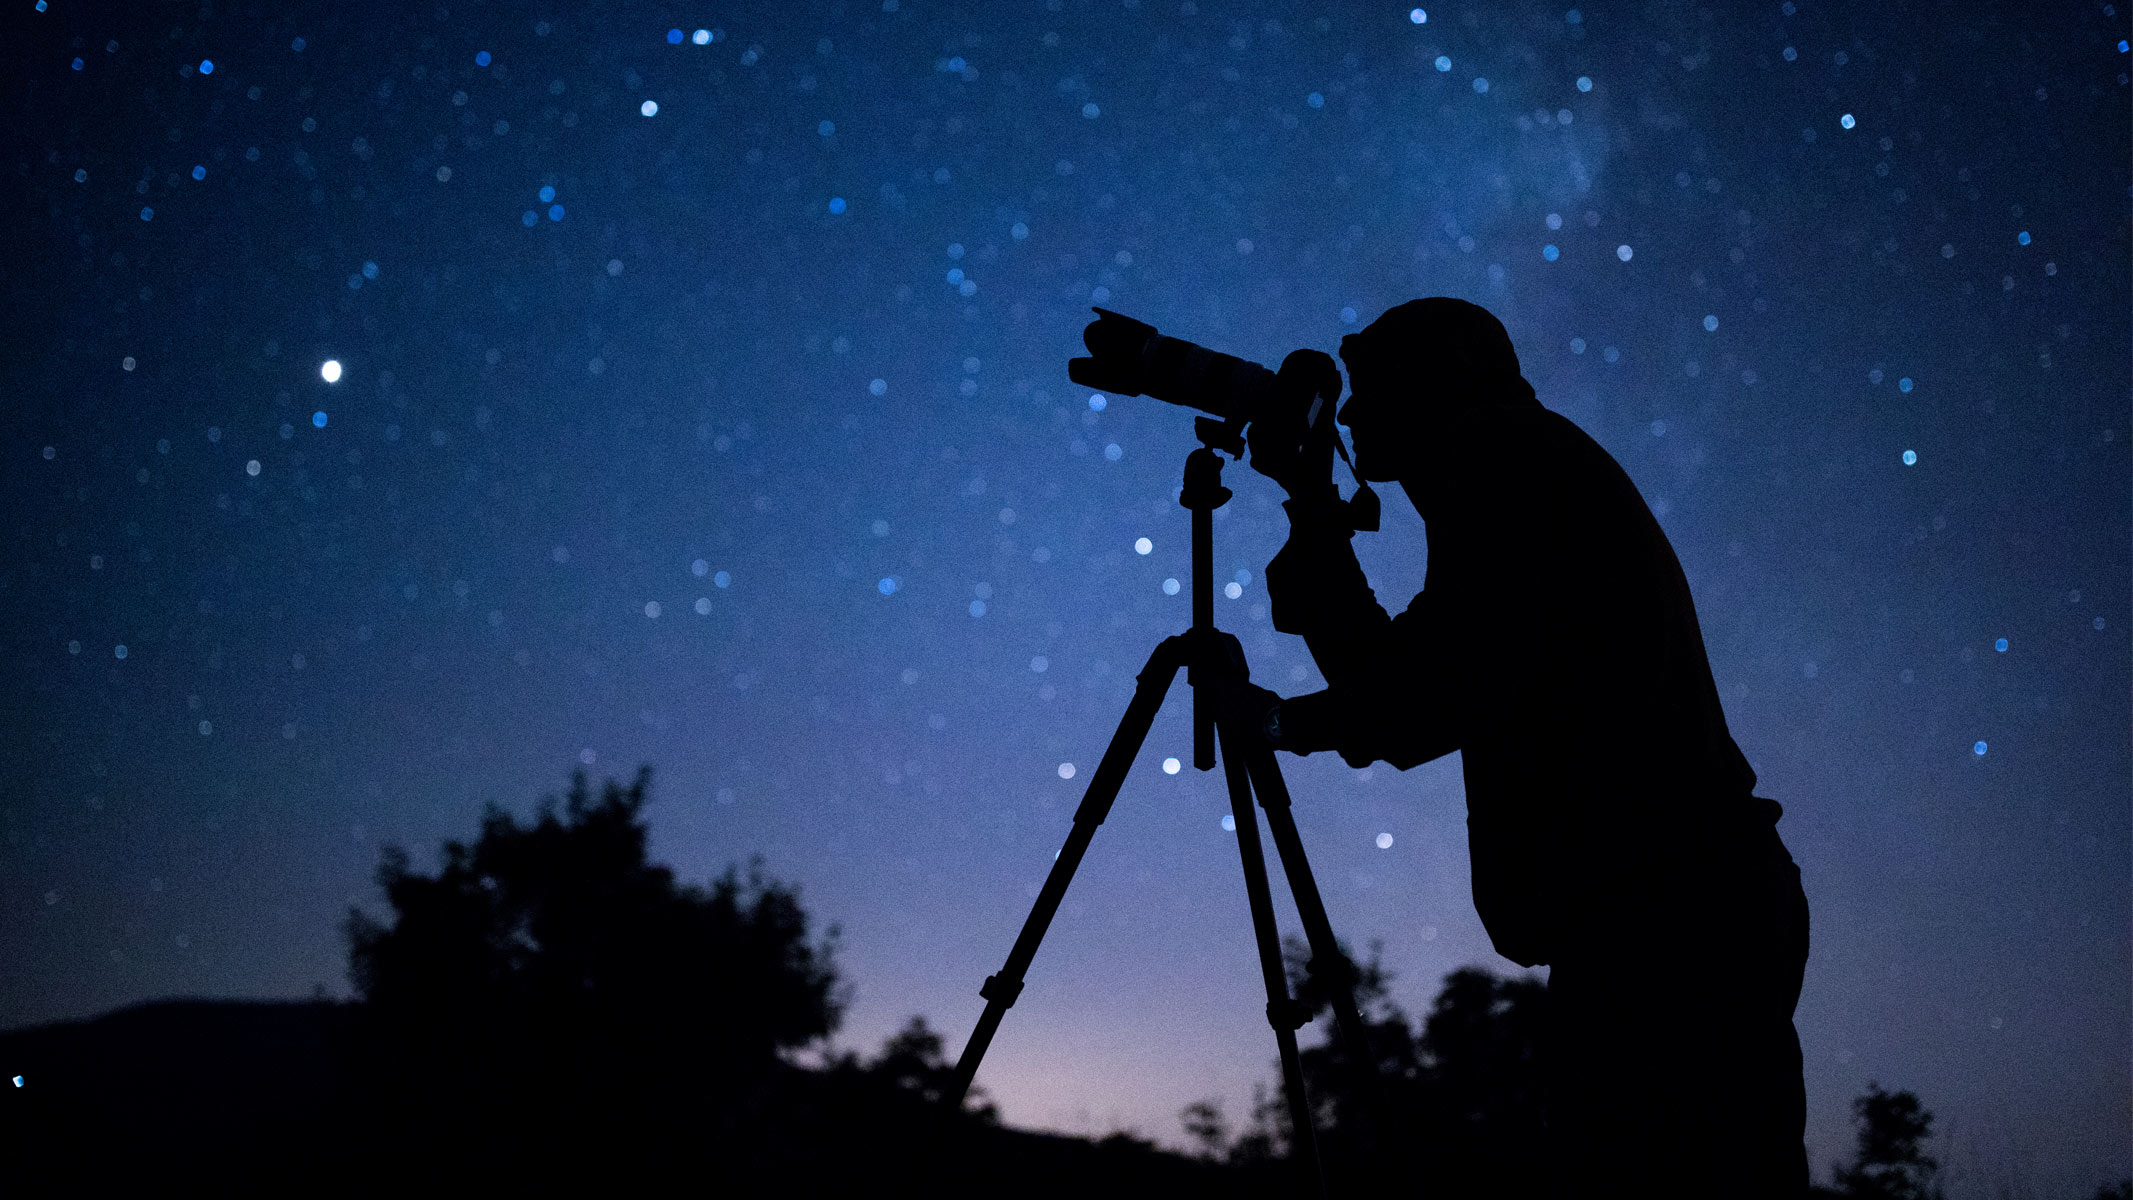
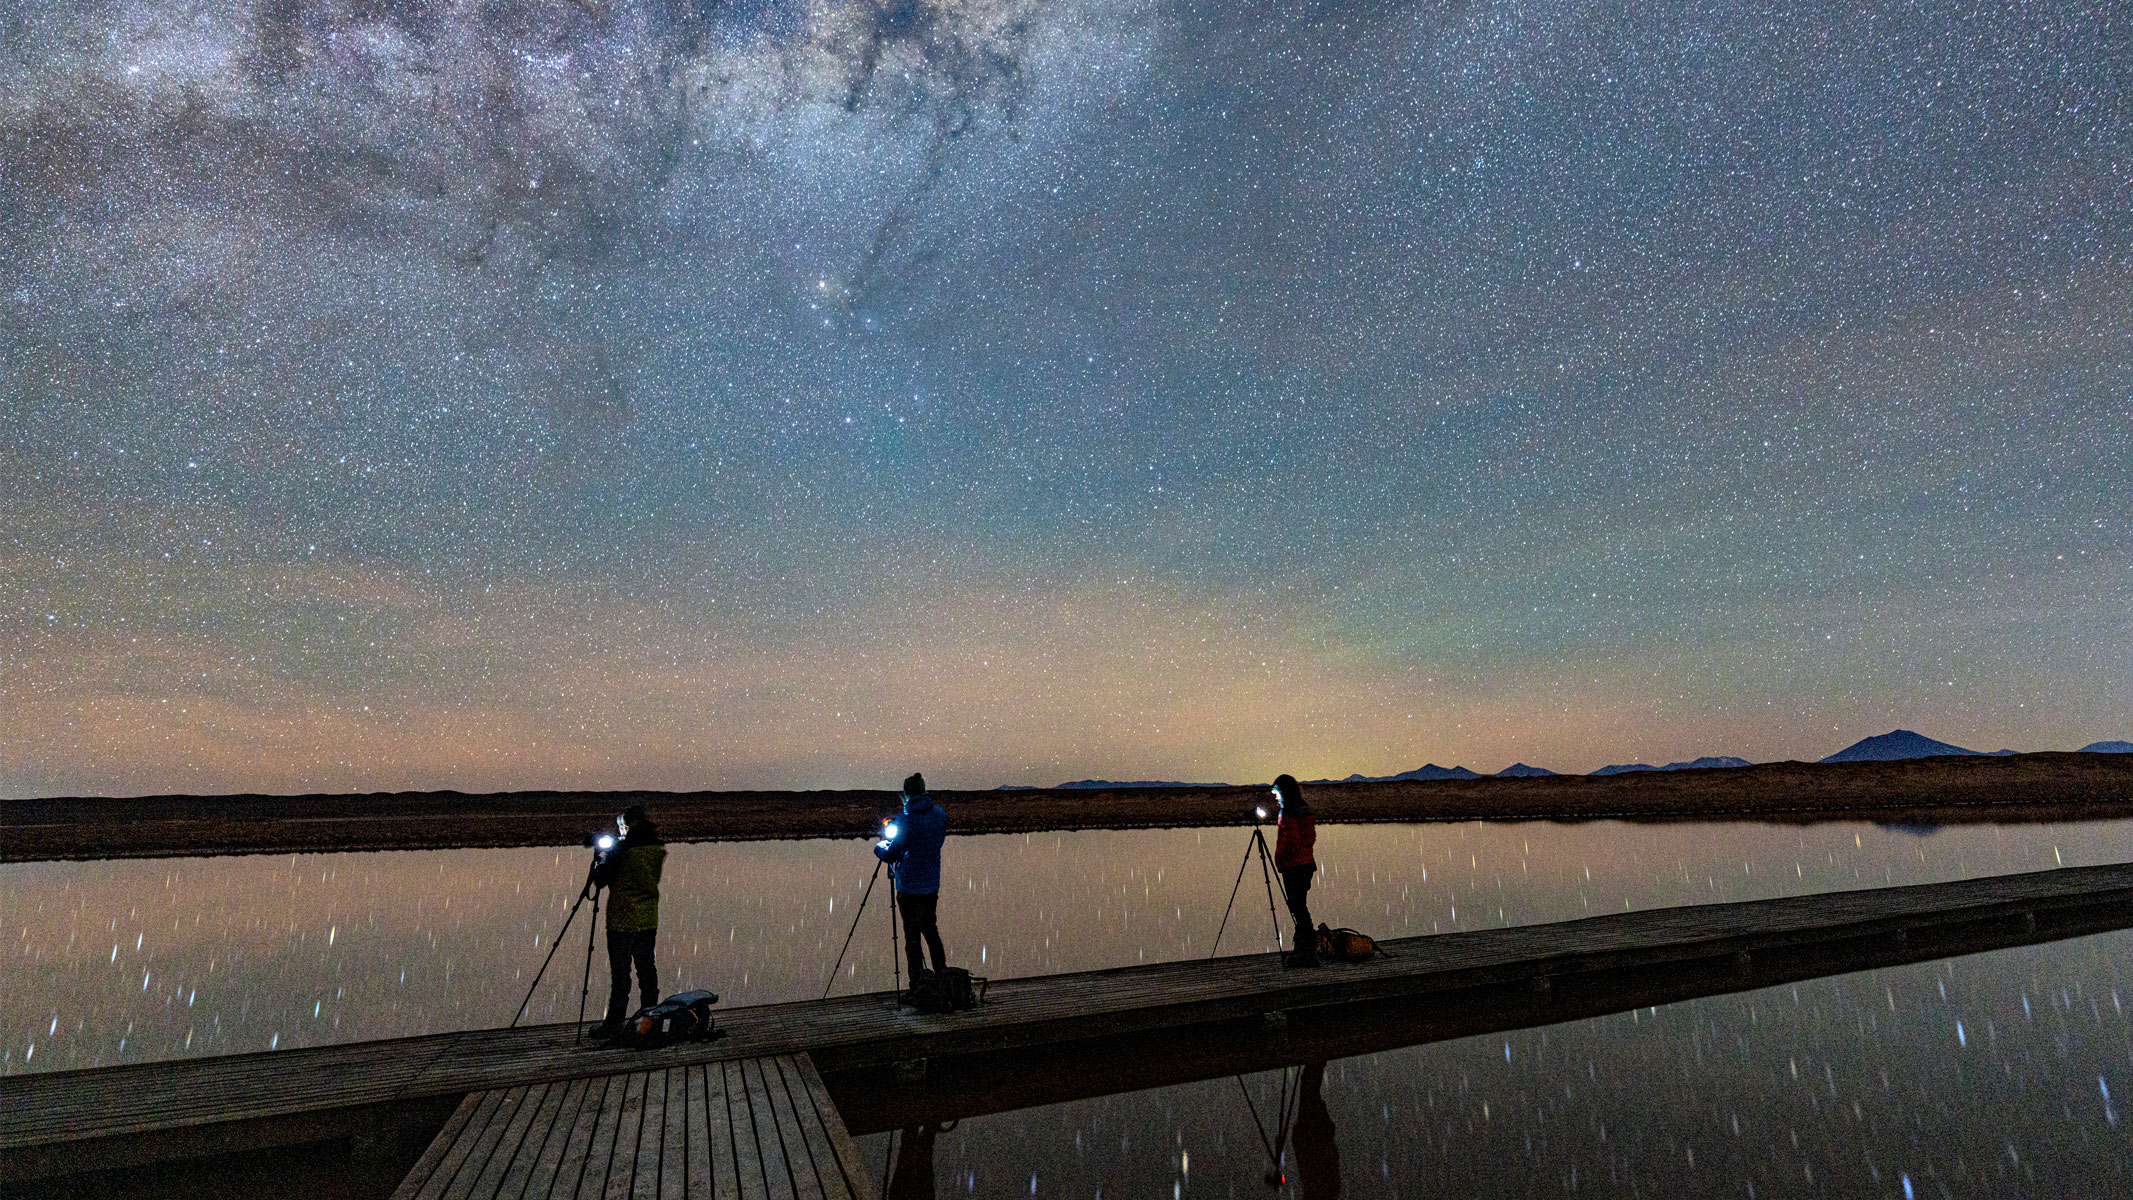
2. Mirrorless or DSLR camera on a tripod
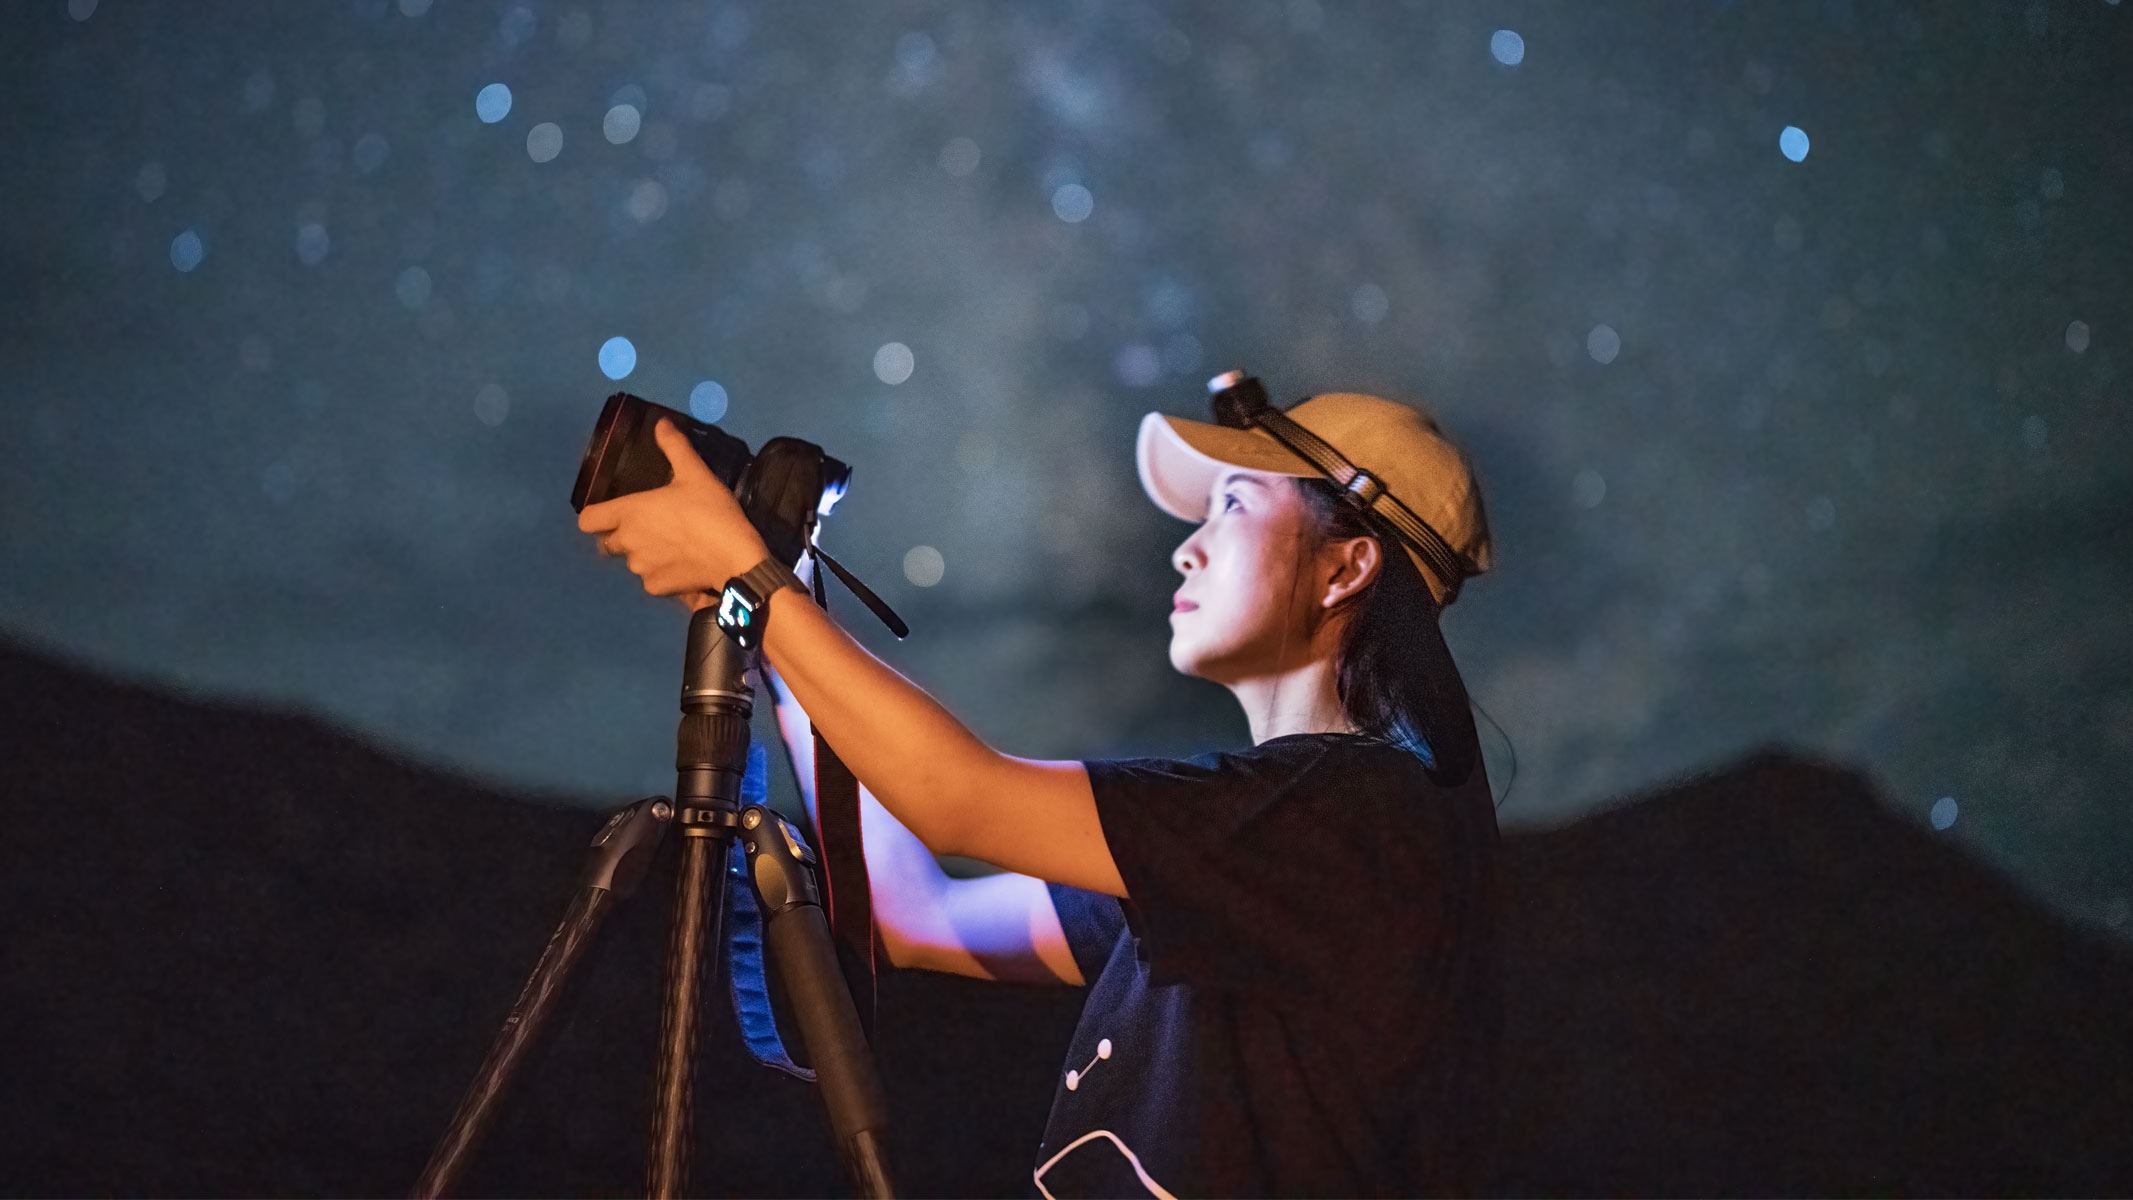
This is where most astrophotographers begin, and it remains one of the most versatile and rewarding approaches. With one of the best cameras for astrophotography, whether that's a mirrorless or DSLR camera, a wide-angle lens on its widest aperture and a sturdy tripod, you can photograph starry skies and, if you get the timing right, the Milky Way (generally April through September).
Since Earth rotates, the time you can expose for is limited to 25-30 seconds (the wider your lens, the longer), but it’s possible to get some exquisite shots. It’s wise to emphasize composition, pairing the sky with a landscape, foreground interest or city skyline — and to always shoot in RAW to make post-processing easier — but once you’ve mastered the basics, the same techniques will allow you to image aurora and even meteor showers.
3. Mirrorless or DSLR camera on a star tracker
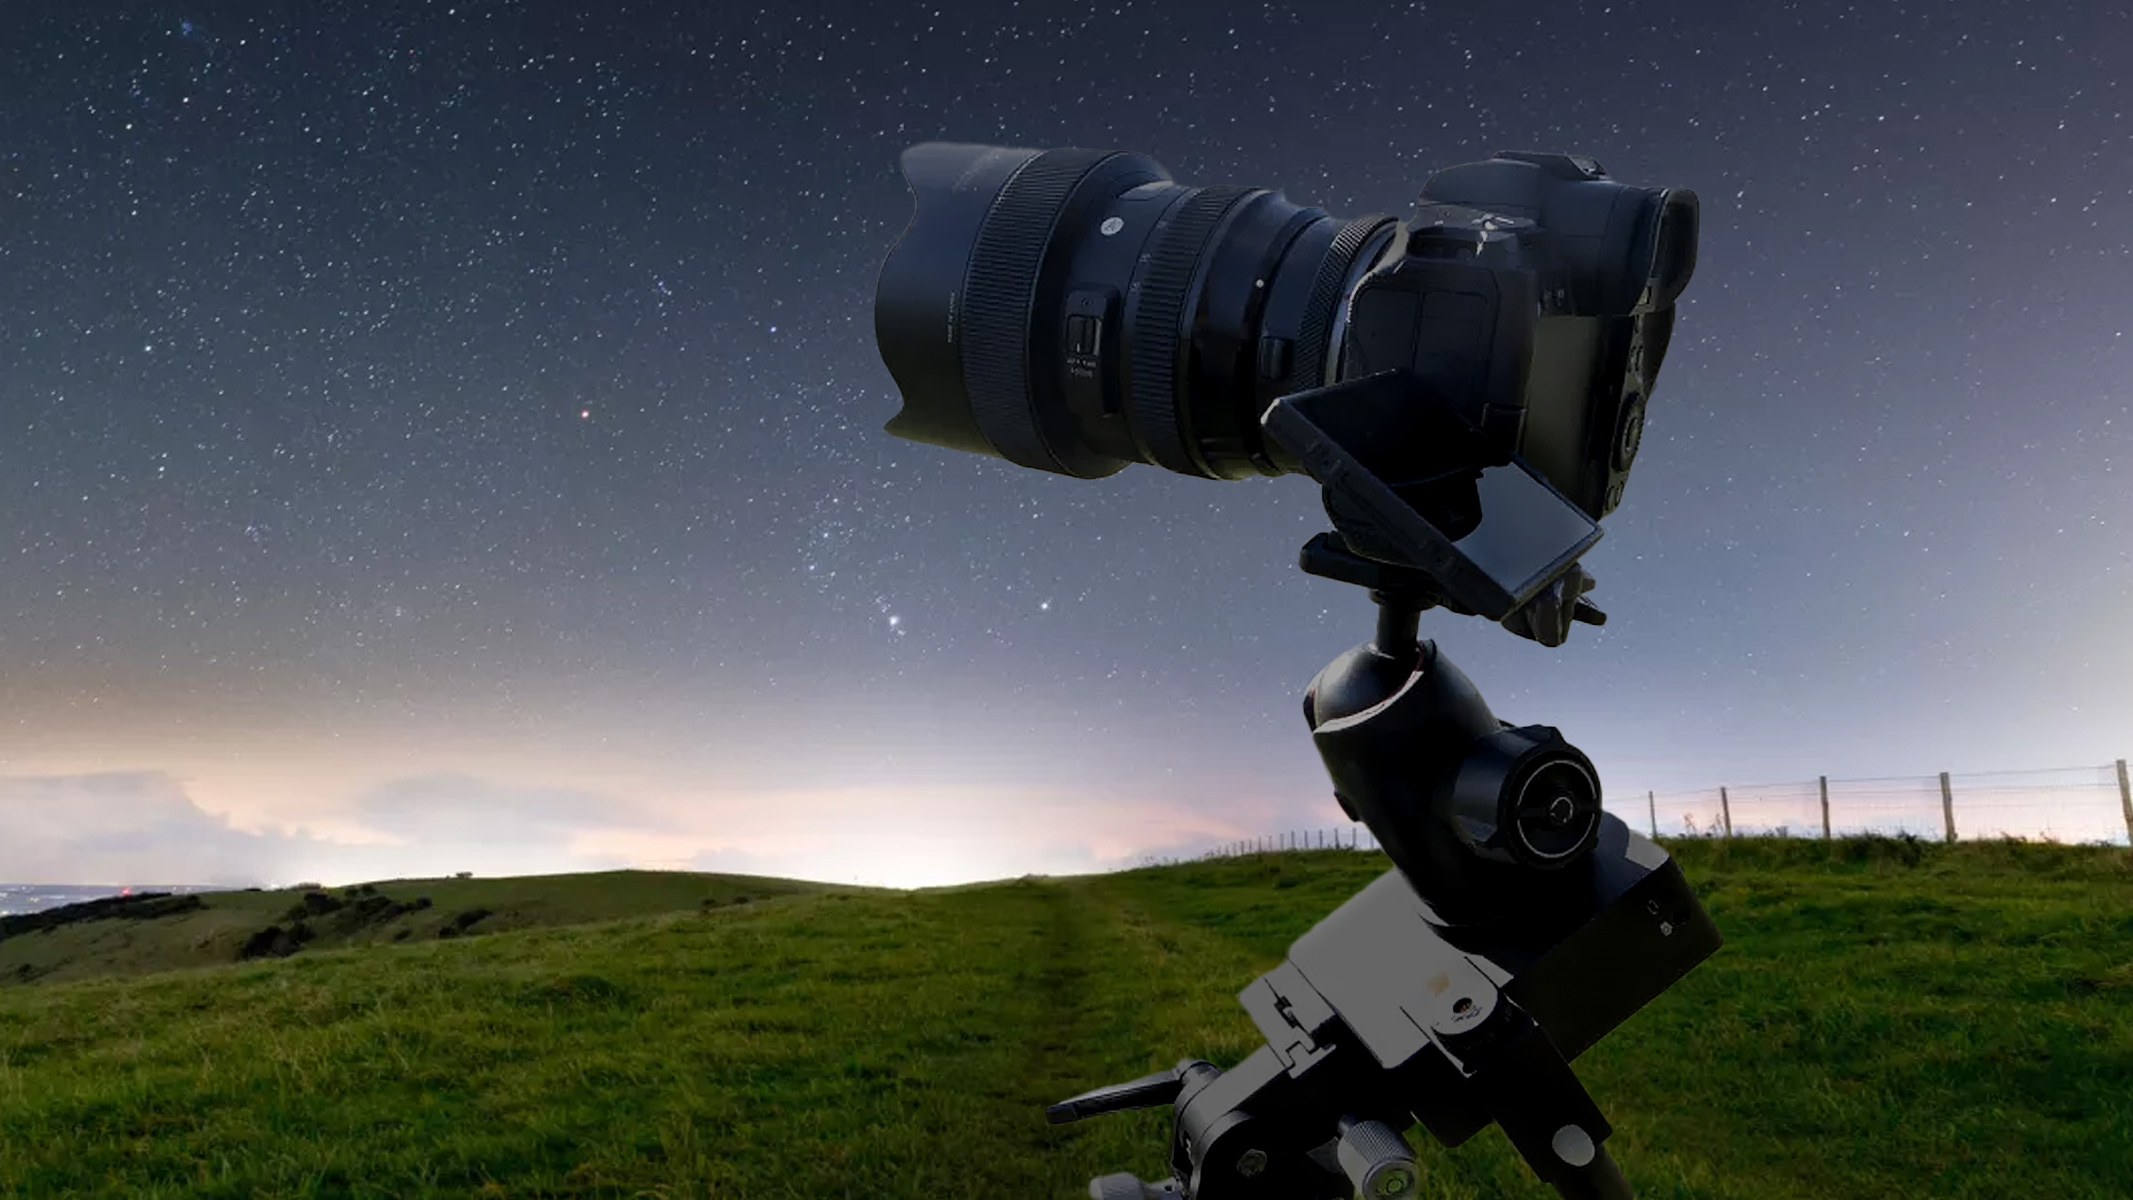
Once you’ve learned the fundamentals of night-sky photography, you can begin experimenting with specialist equipment — and it’s one of the best star trackers that is often the first significant upgrade for astrophotographers.
Compact motorized mounts that rotate in sync with the sky to compensate for Earth’s rotation, star trackers allow much longer exposures without star trailing. That means brighter, more colorful stars and much more light and detail from faint objects, such as the Milky Way and nearby nebulae. Exposure times can stretch to minutes, and ISO can be lowered to create cleaner images that allow much more post-processing. Sounds simple? Unfortunately, it’s not, with polar alignment required before you begin shooting, which can be challenging in the Northern Hemisphere if you don’t know where Polaris, the North Star, is (and even harder in the Southern Hemisphere, where there is no South Star). However, with a bit of practice, these fairly portable (though often heavy) contraptions bridge the gap between casual night photography and more serious astrophotography.
4. Smart telescope
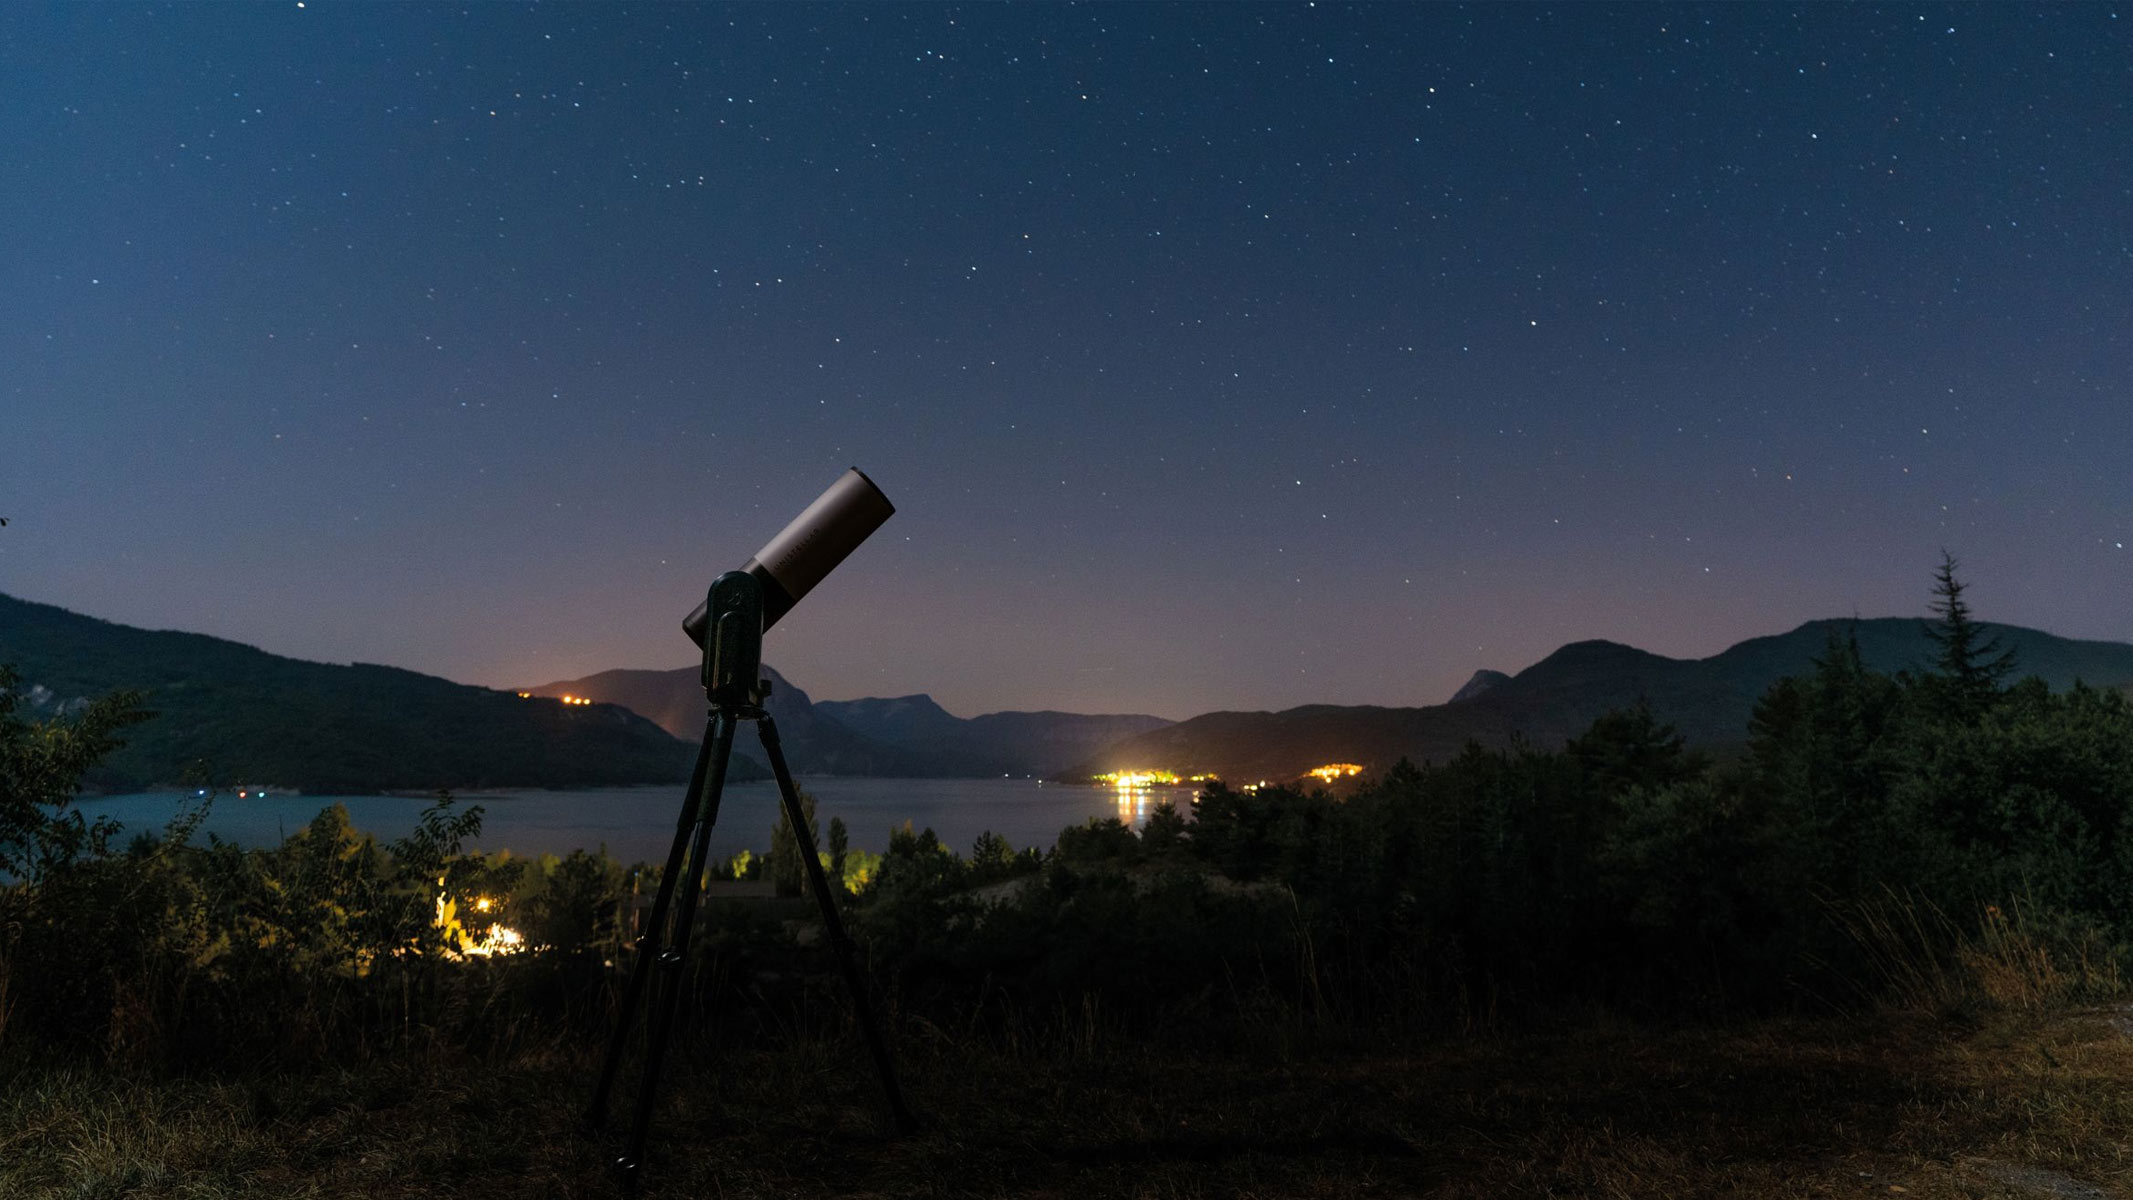
These all-in-one systems — which can be as small and portable as a camera body — combine a small telescope, an image sensor, filters, a motorized mount and image-processing software into a single unit controlled by a smartphone or tablet.
Rather than taking a single long exposure, smart telescopes capture many short exposures and automatically stack them to reduce noise and increase detail and color, gradually revealing a color image of a galaxy, nebula, star cluster or the moon and sun (planets are largely beyond their skill).
Alignment, tracking and processing are automatic, making them so easy to use. Some are so small that they are ideal travel gadgets. However, their stacking and filters make them perfect for revealing deep-sky objects from light-polluted cities and suburbs, where astrophotographers are often left frustrated.
For beginners who want results quickly, or observers short on time, smart telescopes can be an effective solution — but creative control is mostly sacrificed.
5. Deep-sky imaging with a telescope
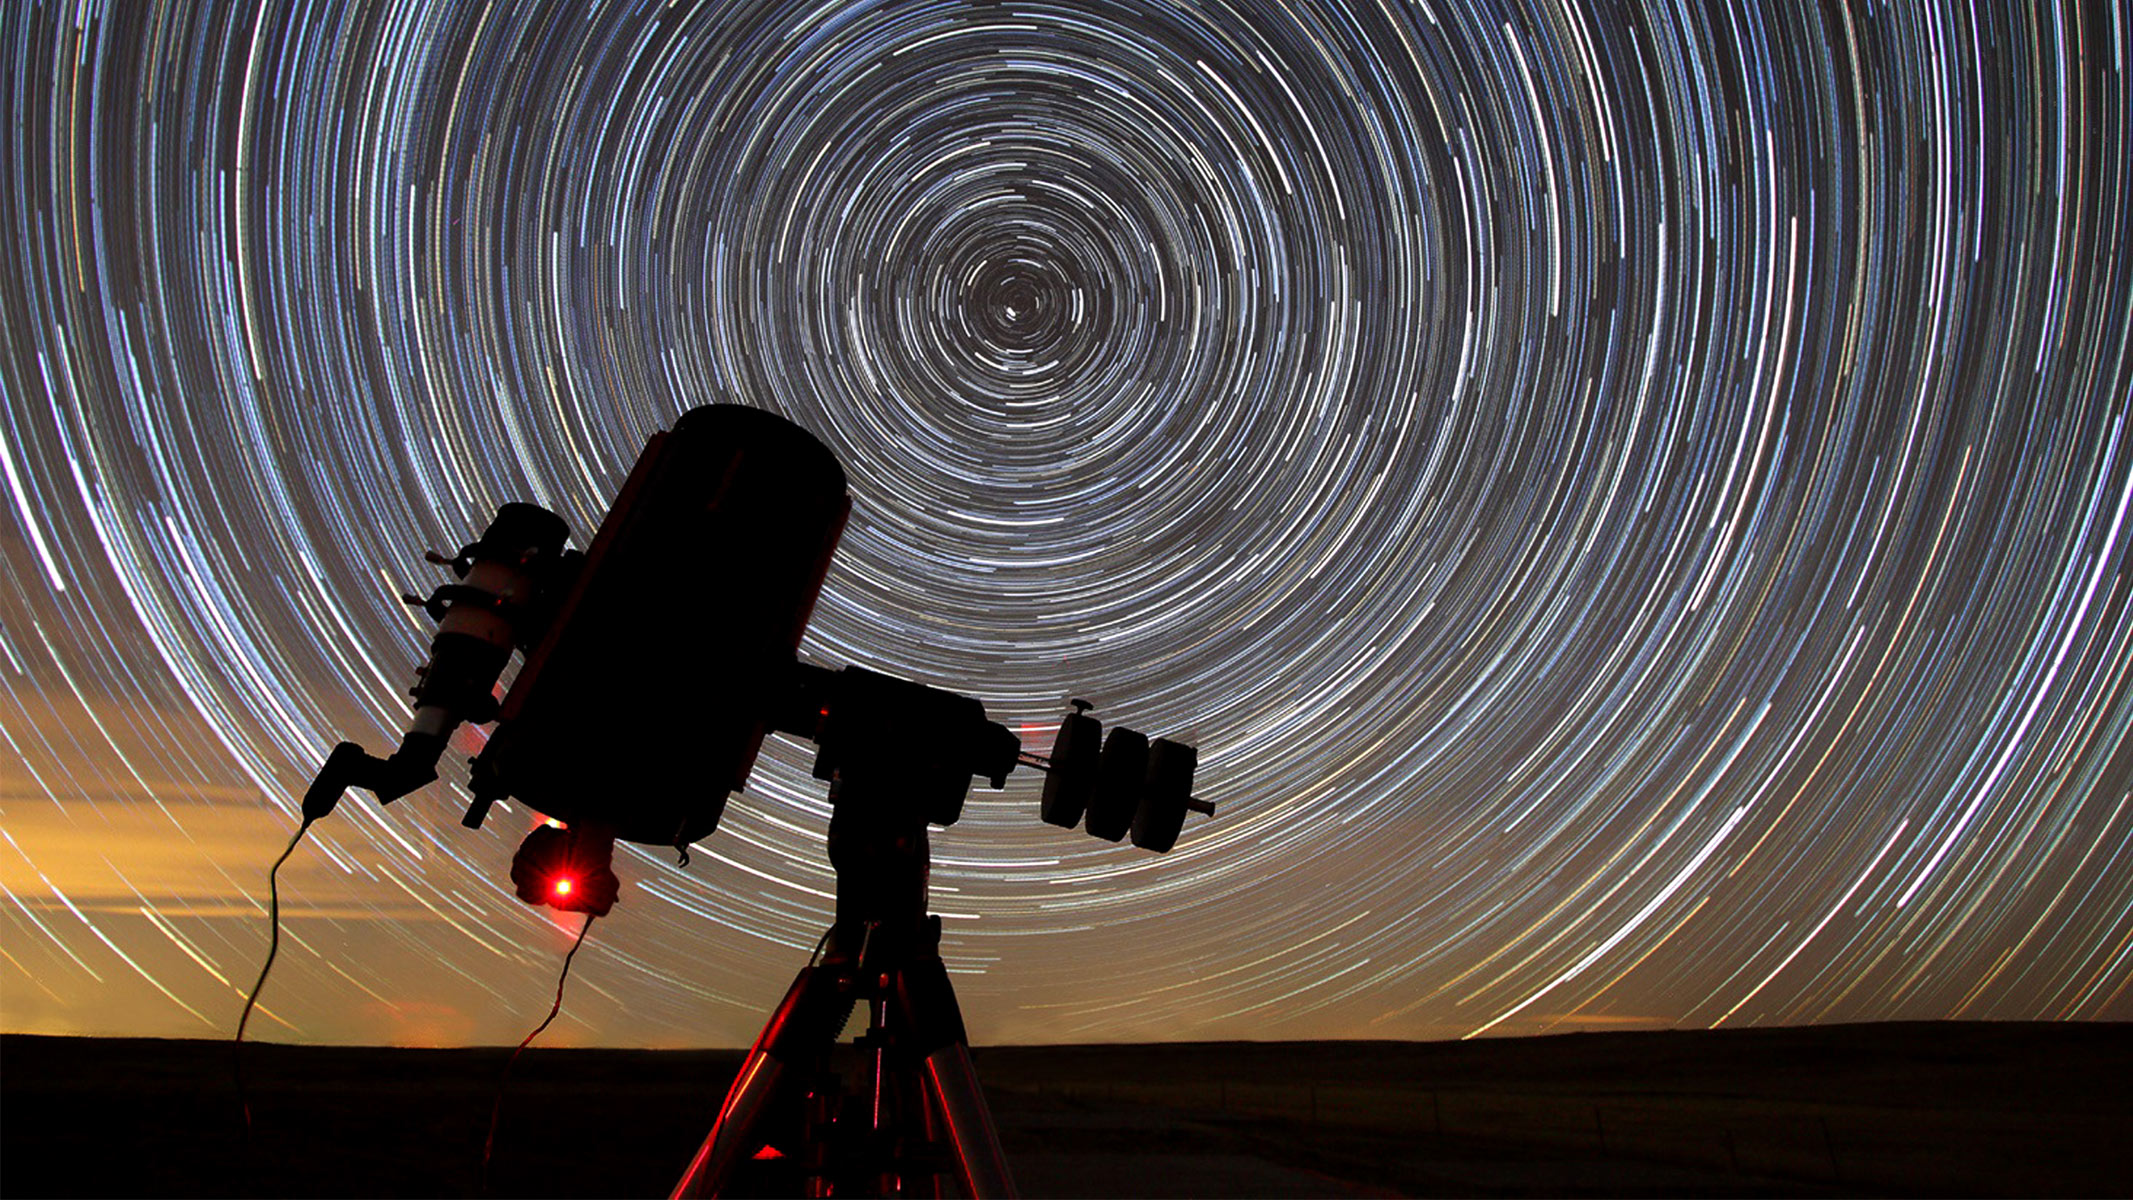
If you want complete creative control and the ability to shoot exquisite images of deep-sky objects, arm yourself with a telescope, an astronomy camera and a laptop — then find dark skies and hope for favorable weather. With a camera attached directly to a telescope, small, faint objects — such as distant galaxies and planetary nebulae — come into view, though the equipment required can be daunting. As well as choosing a telescope, these setups typically involve an equatorial mount, guiding systems, filters and specialist software. They reward patience and careful planning with highly detailed images, but demand significant time, money and technical knowledge.
Camera, lens and starting camera settings to use for astrophotography
With the right settings and a little patience, almost any mirrorless camera can capture the night sky — but mastering its basics takes a bit of patience. Start by switching to manual mode and shooting in RAW.
Armed with one of the best cameras for astrophotography and the best lenses for astro (14mm to 24mm are favored), put the camera on a tripod (use the camera’s self-timer, a shutter release cable or an intervalometer to reduce vibrations) and set the lens to the widest possible aperture — usually between f/1.4 and f/2.8 — and focus manually on a star or a distant light using live view, zooming in until it appears as small and sharp as possible.
Now comes the fun part — finding a balance between ISO and shutter speed. A good place to start is ISO 800 (for the cleanest possible shots), but depending on your camera, you can go way higher, beyond ISO 6400 on newer models. Shutter speeds typically range from 10 to 25 seconds when using wide-angle lenses, depending on focal length (longer lenses require shorter exposures to avoid star trailing).
Once you’ve found the ideal settings, you can move the rig around as you search for the perfect composition, remembering that images of stars are rather dull — it’s a fabulous foreground that you need for a great shot. Think of a starry sky around a building, a mountain or a tree.
A good, alternative hybrid setup
Astrophotography doesn’t need to mean a complex, expensive setup that’s only good for one thing. For photographers who want one kit that works day and night, a mirrorless camera, a fast wide-angle lens and a tripod form an excellent hybrid setup that’s inexpensive and portable. When you’ve mastered the basics, progress to a star tracker and gradually progress into deeper astrophotography without abandoning everyday shooting.
Whether you start with a smartphone, a tripod-mounted camera or a smart telescope, the ingredients of great astrophotography never change — dark skies, patience, composition and time spent practicing under the stars.
 English (US)