
.jpg) 2 hours ago
3
2 hours ago
3
![]()
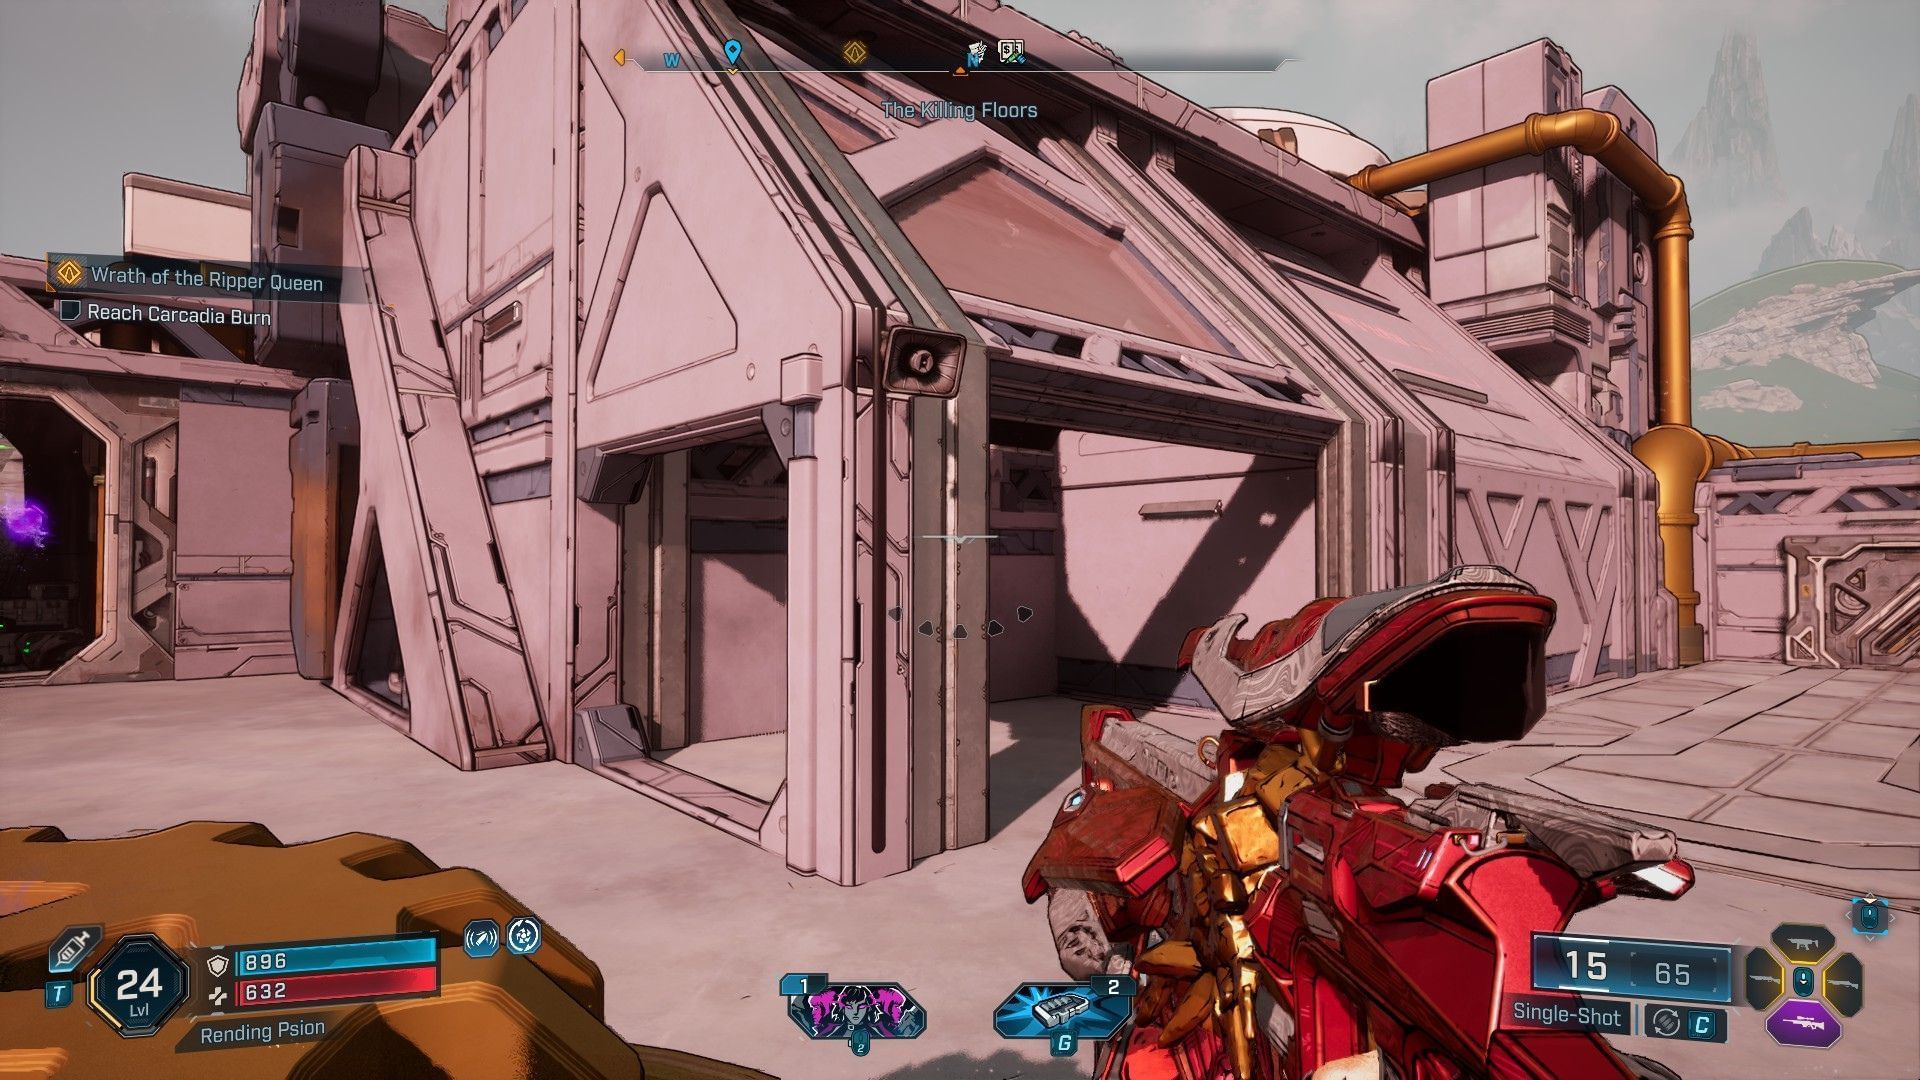
The Oppressor boss fight in Borderlands 4 is a part of the main quests for taking down Idolator Sol. It’s a Synth fighter-jet that you’ll encounter while trying to recruit Zadra in your alliance during the ‘A Lot to Process’ quest. Unlike other bosses in the region, this one can be challenging as you are in a relatively open area, and your opponent has the advantage of higher ground.
Here’s everything you need to know about fighting this boss, including its attack patterns and an easy way to cheese the entire battle to get guaranteed loot.
How to defeat The Oppressor in Borderlands 4?
 The Opressor and its shoulder cannons (Image via 2K Games)
Since the Oppressor is a flying unit, all of its attacks are projectile-based. While that isn’t a problem, the boss does have some powerful moves that can take you out in an instant if you don't dodge. Additionally, it moves around the arena, and a lot of your weapons have a bullet travel time, making it harder for you to shoot.
The best weapon options you have are sniper rifles, as they are more accurate and can consistently hit the weak points. Here are all of the attack patterns:
- Projectile Barrage: The standard attack by The Opressor as it pulls out its gun and starts shooting in your direction. While the projectiles don’t track you, the boss does. Take cover and use the opportunity to shoot the boss.
- Carpet Bombing: Right at the start of the fight, the Oppressor will drop several mines over your head, which explode on contact. After the initial explosion, they leave an electric AoE for a short duration. Since they don’t track you, simply move away from their path.
- Scatter Missile: For this attack, the boss will hover in the air and launch missiles from its back up towards the sky. These missiles will then explode and scatter into smaller ones, which will then attack you. The projectiles will loosely track you, so keep moving.
- Shoulder Cannon: While doing this attack, the boss will direct two cannons on its shoulder in your direction and send a barrage of missiles. They don’t track you, but they can deal a lot of damage. Use this to your advantage and deal as much damage as you can.
- Charged Blast: This is the ultimate attack, where the boss will charge a ball and shoot a beam at you. The process takes some time, allowing you to deal damage. Luckily, the ball is also the crit spot, so if you have an Order Sniper, get a few charged shots out.
Occasionally, a regular Synth soldier will also spawn. They help activate your Second Wind in case you get knocked down. We recommend keeping some alive, but be careful not to get swarmed. After defeating the boss for the first time, you can use Moxxi’s Big Encore machine to fight it again for the loot.
 Use the shack as cover (Image via 2K Games)
We also mentioned a safe spot to go if you’re having trouble dealing with the boss. It’s the drop-down for the boss arena that allows you to take cover from most of the attacks. Pop out to deal damage and go back in. However, note that the boss may die on a roof, which would rob you of the loot, so we recommend moving away to finish the fight.
Check out other related guides:
- 3 Things to do first in Borderlands 4 (and 3 things you shouldn't)
- 4 economy tips to make money fast in Borderlands 4
- Borderlands 4 Recruitment Drive walkthrough
- Borderlands 4 Down and Outbound walkthrough
Why did you not like this content?
- Clickbait / Misleading
- Factually Incorrect
- Hateful or Abusive
- Baseless Opinion
- Too Many Ads
- Other
Was this article helpful?
Thank You for feedback
About the author

Edited by Mayank Singh Rathour
 English (US)